- Solutions
-
Products
Smart MeterMeter ReaderData LoggerSmart GatewayModule PV OptimizerWeather StationSmart Plug
- Support & Service
- Corporate
- News & Media

In today’s world of smart energy management, having real-time insight into your electricity usage is more important than ever. Whether you’re a homeowner aiming to optimize energy consumption or a technician installing systems for others, a P1 meter reader can make all the difference. And with the Solarman P1 Meter Reader, getting started is easier than you think.
This guide walks you through the basic steps of installing the P1 Meter Reader from Solarman—a powerful tool for accurate, continuous, and wireless energy monitoring.
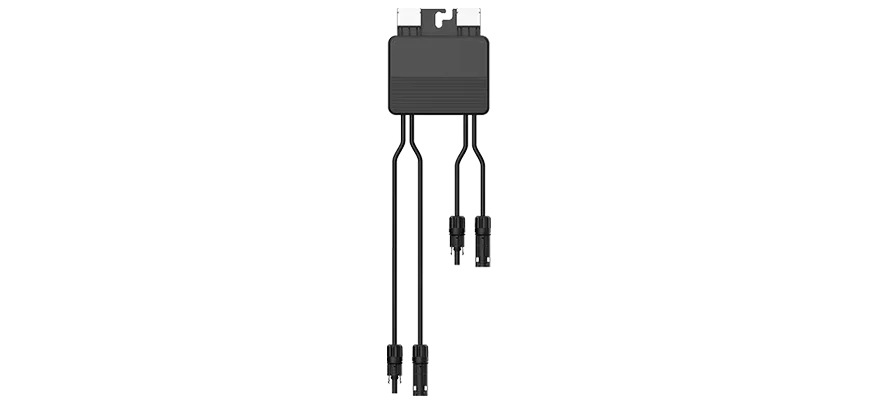
The Solarman P1 Meter Reader is a smart device designed to collect and transmit energy consumption data directly from your P1 meter reader. Using an RJ12 interface, the meter connects directly to your home’s existing smart meter system, receiving real-time usage data.
From there, the Solarman P1 Meter Reader uses WiFi to send that data to the APP that matches P1. Once connected, users can view both real-time and historical electricity consumption via clear, intuitive graphs. This not only helps homeowners understand their energy use at a glance but also supports long-term energy-saving strategies.

Real-time monitoring: View live consumption data through the platform at any time.
Graphical analysis: Identify patterns and spikes with clear visualizations.
Wireless connectivity: No need for physical data collection or complex wiring.
Efficient system operation: Helps maintain a high-performing, energy-efficient home or facility.
Plug-and-play: Direct power from P1 Meter Reader, simple and hassle-free setup.
High compatibility: Universal COM protocol, supports a wide range of devices. Type-C interface addresses power supply issues in P1 Meter Readers below DSMR 5.0.
Safe and reliable: Engineered for stable performance and secure operation.
Compact-size design: Small footprint, fits easily without requiring extra space.
Here’s how to set up your Solarman P1 Meter Reader in just a few simple steps:
Most modern smart meters come equipped with a P1 port, typically located on the front or bottom of the device. This port allows external readers to access data securely.
Note: Make sure your meter supports P1 data output and that the port is active.
Plug the RJ12 connector on the Solarman P1 Meter Reader into the P1 port on your smart meter. This physical connection allows the device to begin collecting real-time consumption data immediately.
Once connected, power up your P1 Meter Reader. Most models are powered directly through the P1 port, but some may include an external power option if needed.
Using the APP compatible with the P1:
Search for and select your home WiFi network.
Enter your network credentials.
Confirm that the device is connected successfully.
Once connected, your meter reader will begin transmitting data directly to the Solarman monitoring platform.
Create or log in to your account via the app that matches P1. Add your P1 Meter Reader by entering the device serial number (usually found on the label). Once registered, you can start viewing live and historical data instantly.

 Jan 27, 2026
 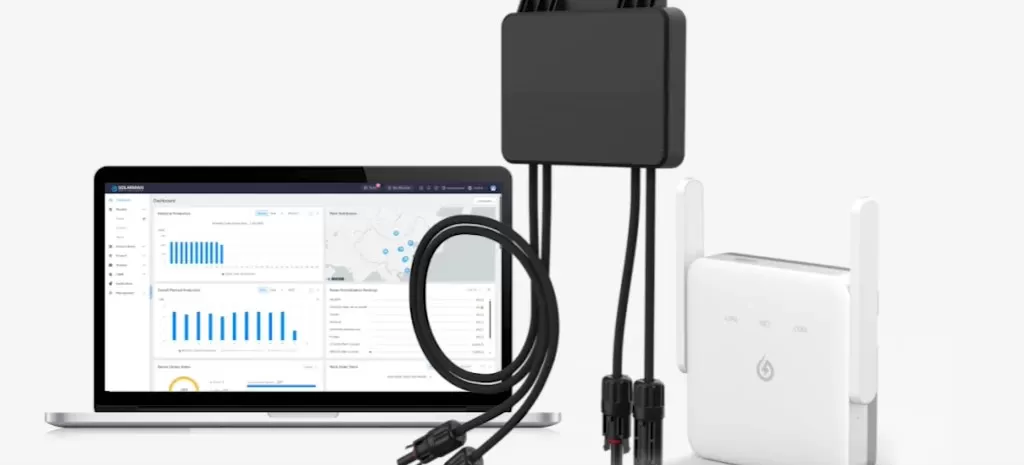 Dec 24, 2025


 EN
EN


